Why onboarding deserves a checklist
The first week sets the tone for the entire relationship. A client who is asked for the same information twice, or who has to chase you for an invoice, has already started to wonder whether hiring you was a mistake. A client whose first experience is smooth — clear scope, a clean signature, an obvious next step — assumes the rest of the work will feel the same way.
The problem is that onboarding is made of small steps that are easy to skip when you're busy: you forget to confirm scope in writing, you start work before anything is signed, or the first invoice goes out late. A checklist fixes that by making the process the same every time, so nothing important depends on you remembering it.
The client onboarding checklist
Run these eight steps in order for every new client. Each one maps to something you can do in ClientDeck, but the sequence works regardless of the tools you use.
- Capture the client's details in one place. Create a client record with the company name, primary contact, email, and any private notes. This becomes the single source of truth instead of details scattered across your inbox.
- Confirm the scope with a proposal. Put the deliverables, value, and terms into a proposal and send it. A written proposal protects both sides and removes the "I thought that was included" conversation later.
- Get a signature before any work starts. Let the client review and e-sign the proposal. Signed scope is the line between a conversation and a commitment — don't cross it without one.
- Turn the accepted proposal into a project. Once it's accepted, convert it straight into a project so the title and value carry across. Now there's a real container for the work.
- Set the budget, rate, and a first milestone. Add the budget and an hourly rate to the project (so time can be valued later), and set a first "next milestone" so the client can see what's coming.
- Send the first invoice or deposit. Bill the deposit or first payment immediately. Connecting a payment gateway means the client can pay online in a couple of taps instead of asking for bank details.
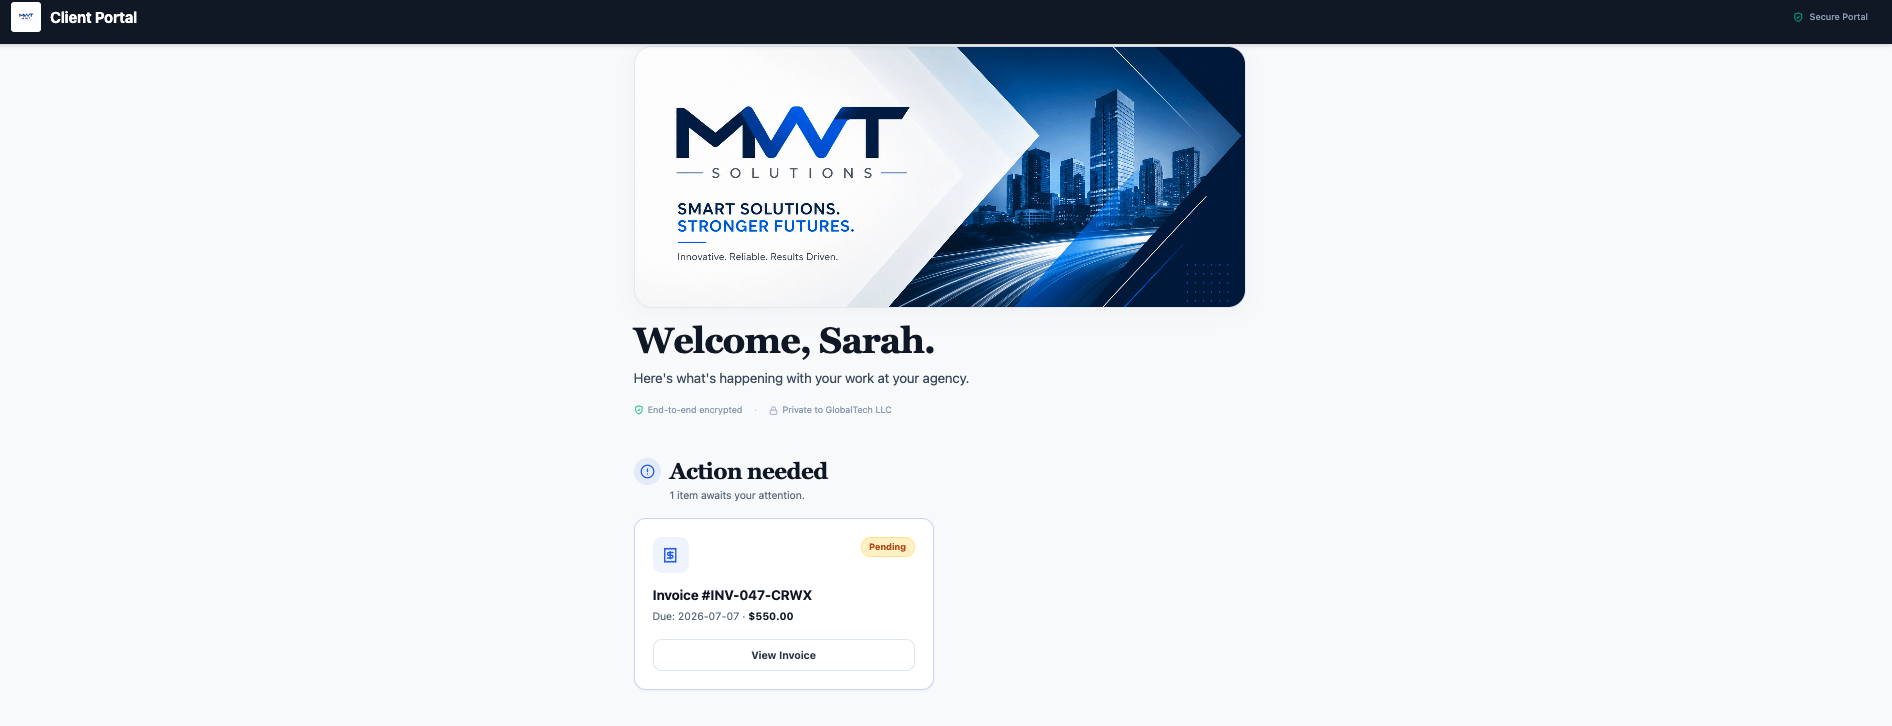
- Give them a branded portal. Invite the client to a portal that carries your logo and colors, where they'll find their invoices, files, proposals, and project updates in one private place.
- Set expectations for updates and communication. Tell the client where to look (the portal) and how often you'll post updates. Managing expectations once prevents a dozen "any news?" emails later.
How to run this checklist in ClientDeck
Every step above is a built-in flow, and they connect to each other so you're never re-entering the same information:
- Clients — add the client once; the record feeds invoices, proposals, projects, files, and the portal.
- Proposals — write the proposal, send it, and the client can review and e-sign it from the portal. Only an Accepted proposal can be converted into a project.
- Projects — converting the accepted proposal creates the project with its title and value already filled in. Set the budget and hourly rate here.
- Invoices — send the first invoice or deposit; on a paid plan you can connect your own gateway so the client pays online (and you can automate recurring billing for retainers later).
- Client portal — invite the client; on Pro you can white-label it with a custom domain so the whole experience feels like your brand.
What you can do on each plan
Onboarding works on every ClientDeck plan, including the free one — useful to know if you're onboarding your very first clients before upgrading:
| Plan | Clients | Projects | Portals | Invoices / month |
|---|---|---|---|---|
| Free | 3 | 3 | 1 | 5 |
| Plus ($9/mo) | Unlimited | Unlimited | 10 | Unlimited |
| Pro ($24/mo) | Unlimited | Unlimited | Unlimited | Unlimited |
The free plan is enough to onboard your first few clients end to end. When you outgrow three active clients or need more than one portal, Plus removes the caps; Pro adds white-label portals and a custom domain.
Common onboarding mistakes to avoid
- Starting work before anything is signed. It feels faster, but it removes your only protection if scope is disputed. Get the e-signature first.
- Leaving the first invoice for "later." The deposit sets the tone that you run a real business. Send it during onboarding, not after the first deliverable.
- Collecting details over email. Information in a thread gets lost. Put it on the client record so it's there in six months.
- No clear "where to look." If you don't point the client at the portal, they'll default to emailing you for everything. Set the expectation once.
Make it repeatable
The whole point of a checklist is that you stop reinventing onboarding for every client. Run it the same way twice and you'll have a "house style" — the same proposal structure, the same portal layout, the same first-week rhythm. After that, onboarding a new client is a 20-minute routine instead of a stressful scramble, and every client gets the same polished first impression. New to portals? Start with what a client portal is and why you need one. Running a studio? Here's why ClientDeck fits agencies.
Frequently asked questions
Client onboarding is the set of steps that move a new client from "agreed to work together" to "work has started" — collecting their details, confirming scope in writing, getting a signature, taking a first payment, and giving them a place to follow the work.
At minimum: capture the client's details, confirm scope with a signed proposal, create a project, set a budget and rate, send the first invoice or deposit, and give the client a branded portal with clear expectations for updates.
Once you have a repeatable process, onboarding a new client takes about 20 minutes of setup. The first time takes longer because you're building your "house style"; after that it's mostly reusing the same steps.
No. ClientDeck handles onboarding inside the same workspace you use for everything else — clients, proposals, projects, invoices, and portals — so you don't need a separate onboarding tool and nothing has to be re-entered between steps.
Yes, and you should. Running the same checklist every time is what makes you look organized and keeps anything from slipping. You can still tailor scope and portal contents per client while keeping the underlying steps identical.
Onboard your next client without the scramble.
Start free with ClientDeck